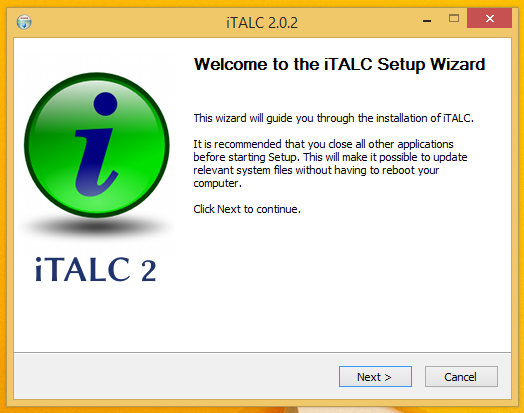
มาแนะนำกันอีกสักรอบสำหรับ iTALC 2.0.2 โปรแกรมควบคุมคอมพิวเตอร์ในห้องเรียน เป็นซอฟต์แวร์ชนิดโอเพนซอร์สที่บางคนก็ได้ลองใช้ในเวอร์ชั่นแรก ๆ ไปบ้างแล้ว ผมลองเข้าไปดูในเว็บไซต์ผู้สร้างโปรแกรมก็เห็นว่ายังคงอัปเดตปรับปรุงโปรแกรมกันอยู่ถึงปัจจุบัน ก็เลยสนใจลองทดสอบดูครับ
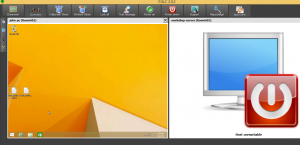
iTALC ทำอะไรได้หลายอย่าง เช่น ผู้สอนสามารถ Lock หน้าจอเครื่องผู้เรียน สามารถส่งภาพหน้าจอเครื่องผู้สอนไปยังหน้าจอเครื่องผู้เรียนได้ สามารถรีโมทคอนโทรลเข้าไปเครื่องผู้เรียนได้ สั่งปิดเครื่องทุกเครื่องได้ หรือ สั่งเปิดเครื่องได้หาก BIOS พร้อมใช้งาน
ดาวน์โหลดโปรแกรมได้ที่ http://italc.sourceforge.net/

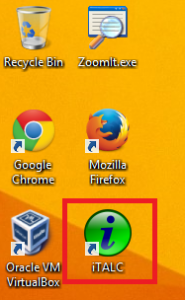
ติดตั้งเสร็จจะได้ไอคอนที่หน้า Desktop ดังรูป
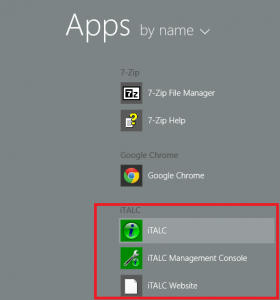
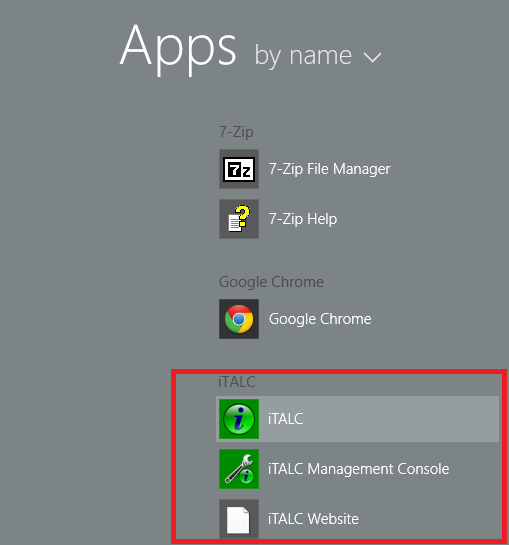
และไอคอนที่หน้า Apps ดังรูป
โปรแกรม iTALC Management Console
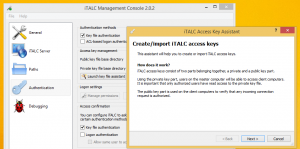
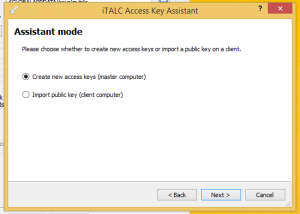
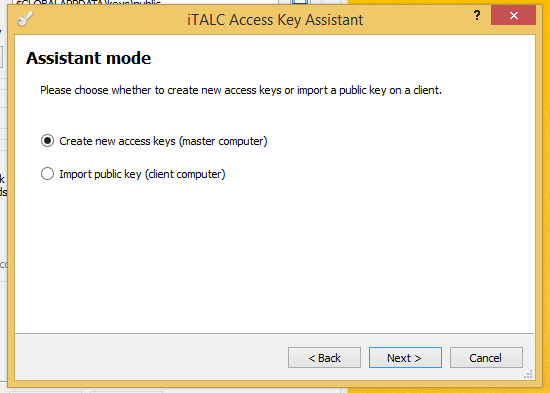
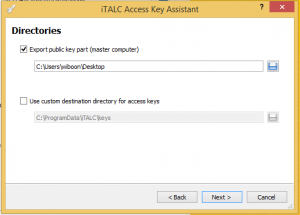
เครื่องผู้สอน จะเรียกว่า master computer ในขั้นตอนการติดตั้งโปรแกรมที่เครื่องผู้สอน ให้เลือก component iTALC service และ iTALC master และให้เลือก Create new access keys
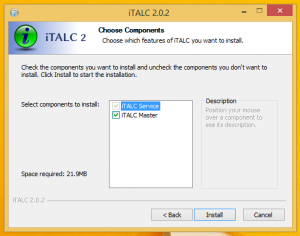
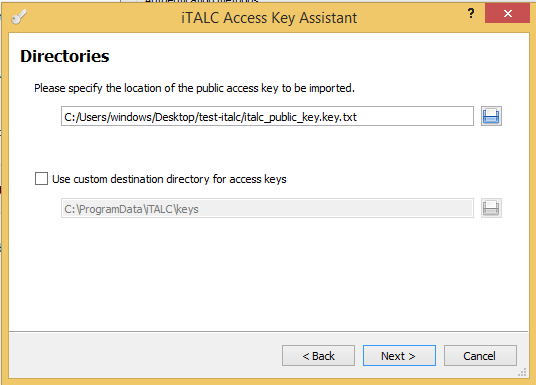
เครื่องผู้เรียน จะเรียกว่า client computer ในขั้นตอนการติดตั้งโปรแกรมที่เครื่องผู้เรียน ให้เลือก component iTALC service แต่ไม่เลือก iTALC master และให้เลือก Import public key

และไอคอนที่หน้า Apps ดังรูป
โปรแกรม iTALC Management Console

เครื่องผู้สอน จะเรียกว่า master computer ในขั้นตอนการติดตั้งโปรแกรมที่เครื่องผู้สอน ให้เลือก component iTALC service และ iTALC master และให้เลือก Create new access keys

เครื่องผู้เรียน จะเรียกว่า client computer ในขั้นตอนการติดตั้งโปรแกรมที่เครื่องผู้เรียน ให้เลือก component iTALC service แต่ไม่เลือก iTALC master และให้เลือก Import public key
วิธีที่จะทำให้เครื่องผู้สอนควบคุมเครื่องผู้เรียนได้ก็คือการ export public key ซึ่งจะได้ไฟล์ชื่อ italc_public_key.key.txt ด้วยโปรแกรม iTALC Management Console นั้นเช่นกัน
แล้วนำไปใส่เข้าในเครื่องผู้เรียนด้วยโปรแกรมเดียวกัน

เมื่อทำขั้นตอนติดตั้งเสร็จแล้ว ก็เป็นการตั้ง classroom ว่าชื่ออะไร และมีคอมพิวเตอร์ใดบ้าง (IP) อยู่ใน classroom นี้ แล้วก็ใช้งานซึ่งการใช้งานง่ายมากเลย
แล้วนำไปใส่เข้าในเครื่องผู้เรียนด้วยโปรแกรมเดียวกัน
เมื่อทำขั้นตอนติดตั้งเสร็จแล้ว ก็เป็นการตั้ง classroom ว่าชื่ออะไร และมีคอมพิวเตอร์ใดบ้าง (IP) อยู่ใน classroom นี้ แล้วก็ใช้งานซึ่งการใช้งานง่ายมากเลย

ผมเขียนวิธีการสำหรับ Windows 8.1 ที่นี่ครับ
http://opensource.cc.psu.ac.th/โปรแกรมควบคุมคอมพิวเตอร์ในห้องเรียน
http://opensource.cc.psu.ac.th/โปรแกรมควบคุมคอมพิวเตอร์ในห้องเรียน
และวิธีการสำหรับ Linux Mint 17.1 ที่นี่ครับ
http://opensource.cc.psu.ac.th/ติดตั้ง_iTALC_บน_Linux_Mint
http://opensource.cc.psu.ac.th/ติดตั้ง_iTALC_บน_Linux_Mint
คำถามยอดฮิตคือ แล้วมันใช้ควบคุมได้กี่เครื่อง อันนี้ผมยังไม่ได้ทดสอบครับ ฮ่า ฮ่า รอท่านทดสอบแล้วบอกผมด้วยนะครับ
หวังว่าคงจะมีประโยชน์ อย่างน้อยที่สุดเอามาใช้ควบคุมเครื่องที่อยู่ในความดูแลไม่กี่เครื่องก็ใช้ได้นะ


0 ความคิดเห็น:
แสดงความคิดเห็น